Read the Fibre Direction: A Guide to Lint-Free Cutting of Cardboard, Paperboard and Corrugated
The edge quality of cardboard, paperboard and corrugated
board often depends on how you manage the fibre direction before the
knife. Correct alignment reduces "feathering", limits tearing and
reduces waste. The following practical framework can be quickly implemented in
everyday workshops and packaging work.
1) Quickly "read" the fibre
orientation
- Cardboard:
It
is usually sufficient to gently bend one edge in two directions. The
direction that bends easily is often considered to be the MD (Machine
Direction); the relatively resistant side is considered to be the CD
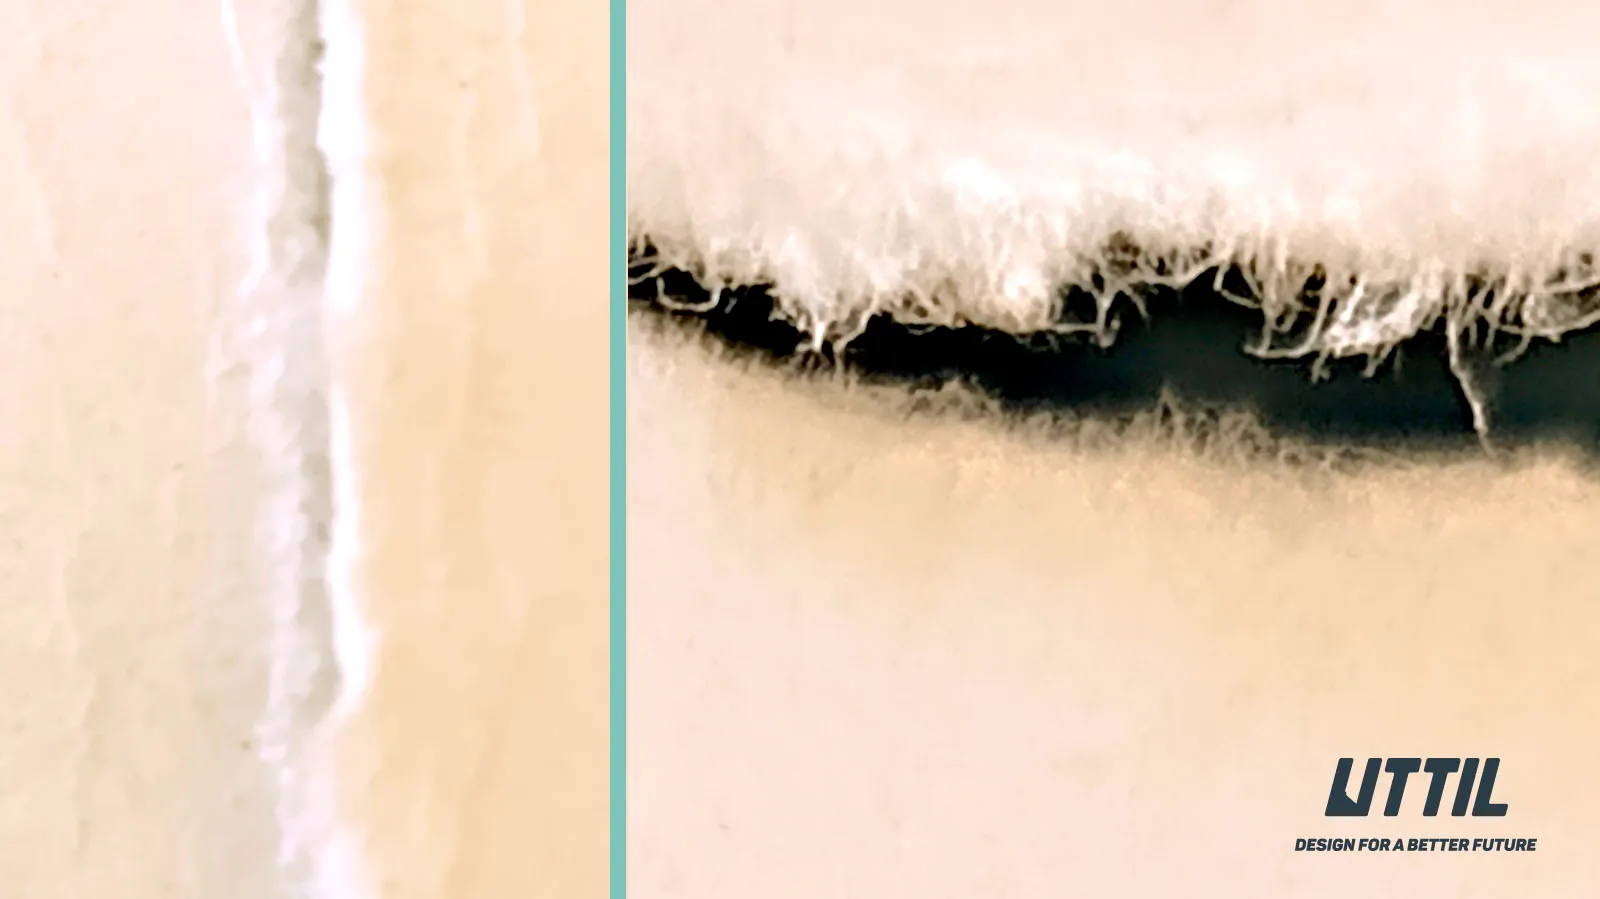
(Cross Direction - the direction perpendicular to the MD). In a simple
tear test, the tear is flatter along the MD and more "hairy" on
the CD.
- Corrugated
cardboard: The
direction of the flutes is an important clue. When cutting parallel to the
corrugations, the blade runs more smoothly; when cutting perpendicularly,
fibre breaks and tears may be more pronounced.
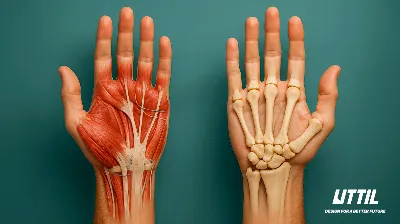
Ergonomics Tip: Aligning
critical cutting lines parallel to the MD as much as possible when
placing parts reduces both labour and blade consumption.
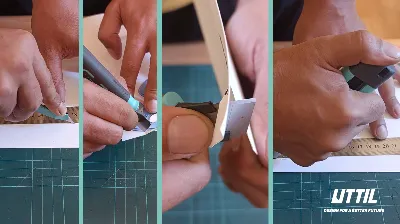
2) "Scoring → deepening" approach
Especially
when cutting in the CD direction, going deeper in one step can increase edge
distortion. First, the cutting line is stabilised with a very light pass (scoring)
and then the cut is gradually deepened and completed in 1-2 steps.
- In
cardboard and paperboard, this method ensures a clean cut without
breaking the fibres.
- In
corrugated cardboard, especially when working perpendicular to the flutes,
scoring reduces breakage on the outer surface.
3) Ruler and angle adjustment: Line
management
- Metal
ruler +
non-slip base stabilises the line.
- When
the blade comes to the surface at about 10-20°, the cutting edge
"cuts" the fibres; at higher angles, the pubescence is reduced.
- For
long lines, fixing the ruler to the body side helps to limit
deviations.
Note: A flat, non-stretch cutting
mat improves edge integrity, especially in corrugated board, by preventing
voids from forming under the flutes.
4) Short strategy guide for material
- Cardboard
(single layer): Lines
parallel to the MD give smoother results. For CD cuts,
first use light scoring and a low angle.
- Cardboard
(multi-ply): There
is a tendency for delamination at layer transitions. Multiple light passes
and pressure with a metal ruler control layer "slippage".
- Corrugated
cardboard:
- Parallel
to corrugations: Light pressure and a long, flowing motion provide a
clean edge.
- Perpendicular
to the grooves: Scoring + gradual deepening + low angle reduces
surface "pop".
- Coated
surface detail: Starting the cut on the side with the pressure and/or
coating significantly
reduces tearing and coating lifting at the point where the blade emerges on
the opposite side.
5) Blade, blade and mechanism selection
- Snap-off
blade: When
the blade is blunt, the segment is broken off to produce a fresh blade
immediately, making it efficient for fine work at 9 mm and long lines at 18 mm.
- Blade
geometry: 30° tip in detail; TiN-coated segments stay sharp
longer for a long series of cardboard-corrugated cuts.
- Locking
preference: Screw clamping bodies increase blade stability on long and
deep lines; automatic locking adds speed on flowing jobs.
- Parcel
cutting & thick corrugations: Trapezoidal/hook inserts cut tape
and thick corrugations in a controlled manner; PRUK06 (with automatic
retraction) supports safe and fast work on these jobs.
Product matches from UTTIL:
- Precision
lines (cardboard): PTUK07-30 (9 mm, 30° tip)
- Long
lines/stability and deep cutting: VMUK coded series (screw lock, 18
mm)
- Serial
groove cuts: PTUK08-EX (18 mm, TiN-coated grizzly horse)
- Fluent
general use: NMUK09 (18 mm, ergonomic HIPS+TPE housing)
- Parcel
cutting / dense packaging: PRUK06 (trapezoidal/hook bit, automatic
retraction)
6) Planning habits that reduce waste
- Layout:
Position
the parts so that the critical lines are aligned with the MD.
- Marking: Marking MD/CD
with a small arrow on the back of the cutting material can speed
up repetitive work.
- Sample
cutting: Testing
the angle-print-pass combination on a small piece of a new type of
board/cardboard eliminates most errors in the first place.
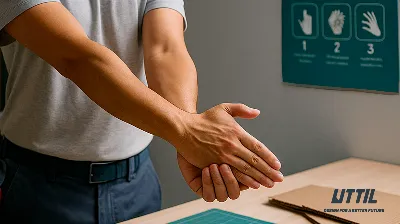
7) Without compromising safety
Routing
the line away from the body, carrying the blade closed/locked outside
of work, and replacing blunted blades in a timely manner increase confidence as
well as control.
Conclusion
What makes the
difference in edge quality is not only the right blade, but also the correct
management of the MD / transverse CD direction. "Locking" the
line with scoring, gradual deepening at a low angle and clever positioning of
the ruler result in cleaner edges and less waste.