Sealing the Gaps: A Guide to Selecting and Using Sealants Effectively
As a UTTIL
expert, I'm here to guide you through the ins and outs of selecting and using
sealants for all your DIY projects. UTTIL is a trusted brand in the DIY industry,
known for its high-quality tools and materials. Whether weatherproofing your
windows or caulking a bathtub, the right caulking gun is as crucial as the
sealant. UTTIL's range of caulking guns is designed with the DIY
enthusiast in mind, offering ease of use, precision, and durability.
Understanding Sealants
Sealants are
versatile tools in construction and home repair. They fill gaps, seams, and
joints to prevent water, air, and environmental toxins from entering or
escaping. When choosing a sealant, consider the location of the application,
exposure to elements, and material compatibility. Remember, each sealant
has unique benefits, so you can confidently choose the one that best suits your
project.
Silicone
Sealants:
Silicone
sealants are renowned for their flexibility and water resistance, making them
an ideal choice for areas exposed to moisture. Here's why they're a go-to
option for wet environments:
Durability: They withstand temperature
changes without cracking or drying out.
Waterproofing: Perfect for use in bathrooms,
kitchens, and outdoor applications due to excellent waterproof properties.
Non-Paintable: Silicone sealants typically
cannot be painted over, which is crucial for a project's finished look.
Adhesion: They adhere well to non-porous
surfaces, making them suitable for sealing around bathtubs, sinks, and tiles.
Acrylic
Sealants:
Acrylic
sealants, often used for indoor projects, offer a different set of advantages:
Paint
Compatibility: These
sealants can be painted, allowing a seamless blend with the surrounding
surface.
Ease
of Use: They
are generally easier to apply and smooth out than silicone, and they are
user-friendly, even for beginners.
Versatility: Ideal for filling cracks in
window frames, baseboards, and doors.
Cost-Effective: Typically less expensive than
silicone, making them a budget-friendly option for large projects.
Polyurethane
Sealants:
For tasks
requiring a stronger bond and durability, polyurethane sealants are a robust
option:
Strength: They create a strong seal that
can bear weight and handle movement, perfect for areas subject to foot traffic
or load-bearing joints.
Flexibility: Retains elasticity over time,
critical for materials that expand and contract.
Chemical
Resistance: Resistant
to chemicals, oil, and gasoline, making them suitable for garages and
driveways.
Butyl
Sealants:
Butyl
sealants are rubber-based and offer unique properties:
Adhesive
Strength: They
have excellent adhesion to most materials, including metal and concrete.
Water
Resistance:
Exceptional for sealing outdoor structures like gutters and roofs.
Selecting the Right Sealant
Consider
the Application: The
sealant's location is crucial—different environments require different sealant
properties.
Material
Compatibility: Make
sure the sealant is compatible with the surface materials.
Curing
Time: Check
if the area needs to be used soon after application.
UTTIL's range of caulking guns supports
these various sealants, providing the tools to apply them precisely and
effectively. Always refer to the manufacturer's instructions for the best
application results and ensure the longevity of your sealant.
Choosing the Right Caulking Gun
UTTIL's range
of caulking guns is engineered with the DIY enthusiast in mind. Here's what
sets them apart:
Ease
of Use: A
caulking gun should be easy to handle, and UTTIL guns provide a
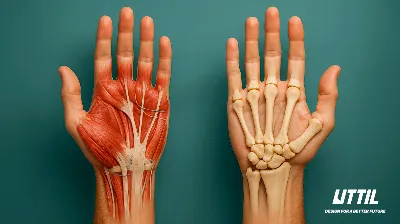
comfortable grip that reduces hand fatigue, which is essential when
working on longer projects. Rest assured, with UTTIL's range of caulking
guns, you'll find the tool that makes your DIY experience a breeze.
Precision: With smooth pressure systems, UTTIL
caulking guns allow for a consistent bead of sealant, which is essential
for the seal's appearance and effectiveness.
Durability: UTTIL caulking guns are
designed for longevity and are constructed from robust materials so that you
won't need a replacement after just a few uses.
Preparing for the Job
Before you
start caulking, surface preparation is critical. Ensure the area is clean, dry,
and old sealant, grease, or dirt-free. For more profound gaps, use a backer rod
to provide a better base for the sealant. This means removing any old sealant
or paint, cleaning the surface with a mild detergent, and allowing it to dry
completely. For deeper gaps, insert a backer rod to ensure the sealant adheres appropriately
and fills the gap.
Using Your Caulking Gun
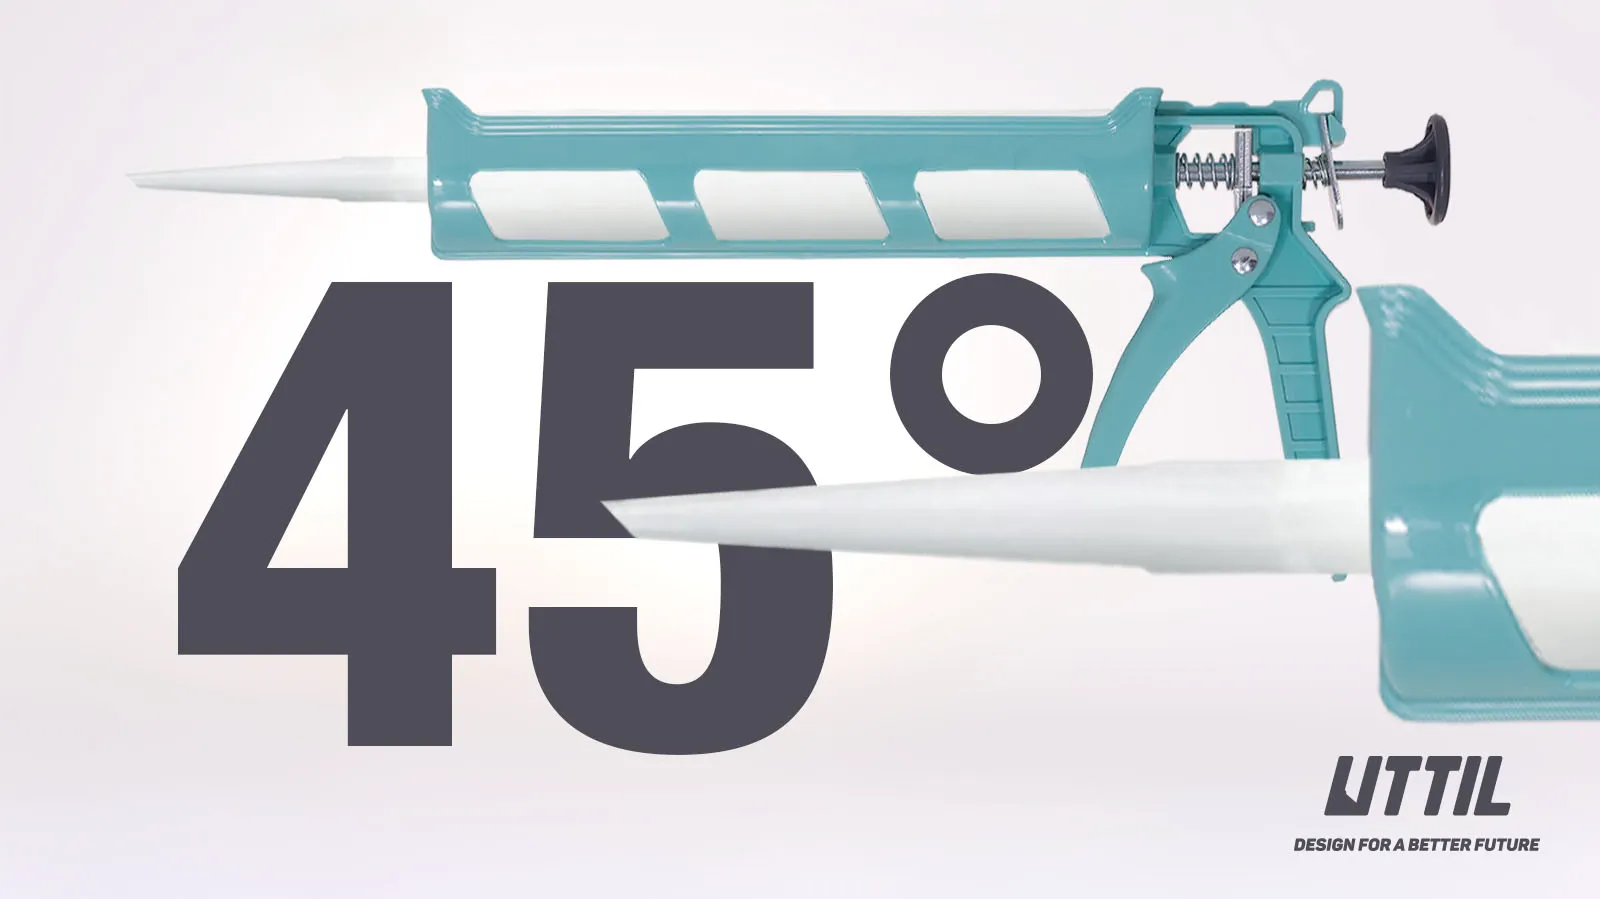
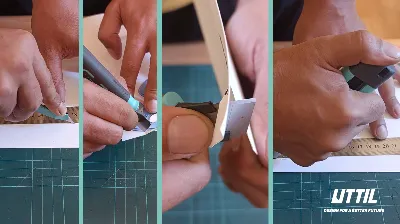
Cut the tip
of the sealant tube at a 45-degree angle. This allows you to work the gun at a
45-degree angle to the gap, the recommended angle for most caulking tasks.
When sealing,
start with the innermost corner and work your way outwards. Maintain a steady
hand and even pressure on the trigger. If you make a mistake, don't worry –
most fresh sealants can be wiped away cleanly, allowing you to try again. Hold a caulking gun at a 45-degree angle to the surface and apply
steady pressure to the trigger. Move the gun along the gap in a smooth,
continuous motion, ensuring the sealant fills the gap. If you need
to stop, release the pressure on the trigger to prevent excess sealant from
oozing.
Finishing Touches
Once the
sealant is applied, you can smooth it out with a caulking tool or even a damp
finger, depending on the type of sealant. Remember, silicone sealants will not
clean up with water, so have some mineral spirits handy for cleanup.
Aftercare
After you've finished your project, cleaning and storing your UTTIL caulking gun is straightforward. Pull back the plunger and remove the sealant tube. Clean any excess sealant from the gun with a cloth, and it's ready for your next DIY adventure.
With the right UTTIL tools and some
know-how, sealing gaps becomes a simple, satisfying task that significantly
contributes to your home's maintenance and energy efficiency. Happy caulking!
If you encounter any issues during the caulking process, such as the sealant
not adhering properly or the bead not forming correctly, refer to our
troubleshooting guide for solutions.

